Showing posts with label easter. Show all posts

Monday, 1 April 2013

Easter Sensory Box

A sensory box is an activity where  the children are given materials and tools in a table or container with no instruction on what to do with them.  The children are given a chance to explore whats in front of them and decide what to do with it themselves. This self directed play allows children to be creative and gives them confidence and a feeling of self achievement. 

Today we set up a Easter themed sensory box using porridge oats, crunched up Shredded Wheat, fluffy chicks, plastic eggs, and feathers.


The plastic eggs I used split in half. The children used these as scoops and also mix and matched them together. They  used the eggs with holes in as sieves. 


Sensory activities  build on cognitive development. This is a mental process that includes memory, making decisions, problem solving and understanding language. It is the part of our brain that helps us process information and apply knowledge.


Maths can be applied to count, size, match and sort items into groups. They can grasp a better understanding of full and empty, more or less, and whether things float or sink.

Science concepts are used when predicting outcomes and experimenting with materials such as cause and effect. Children have the opportunity to explore and build a better understanding of gravity and speed.

English and language can also be improved. Children build their hand eye coordination and fine motor skills which are used for holding a pencil to learn how to write when pouring stirring, whisking and manipulating the materials. The activity gives a child a sense of self awe which they want to share. It gives them something interesting to talk to others about because each child will use the materials differently. It builds on their vocabulary as they try to express and share their ideas.


Friday, 29 March 2013

Easter Potato Stamps

I was cutting potatoes for tea last night and clicked that a potato chopped in half would make a perfect Easter egg stamper. Today we put it to the test :)


Once the paint has dried you could decorate with pens and glitter :)


Chocolate Shredded Wheat Nests

Easter wouldn't be the same without Shredded Wheat nests :)


Breaking the chocolate up into squares 


Adding shredded wheat to the melted chocolate 

Adding Shreaded Wheat to the melted chocolate 


Stirring the mixture 

Scooping the mixture into cake cases 

Finishing them off with mini eggs and chicks :) 


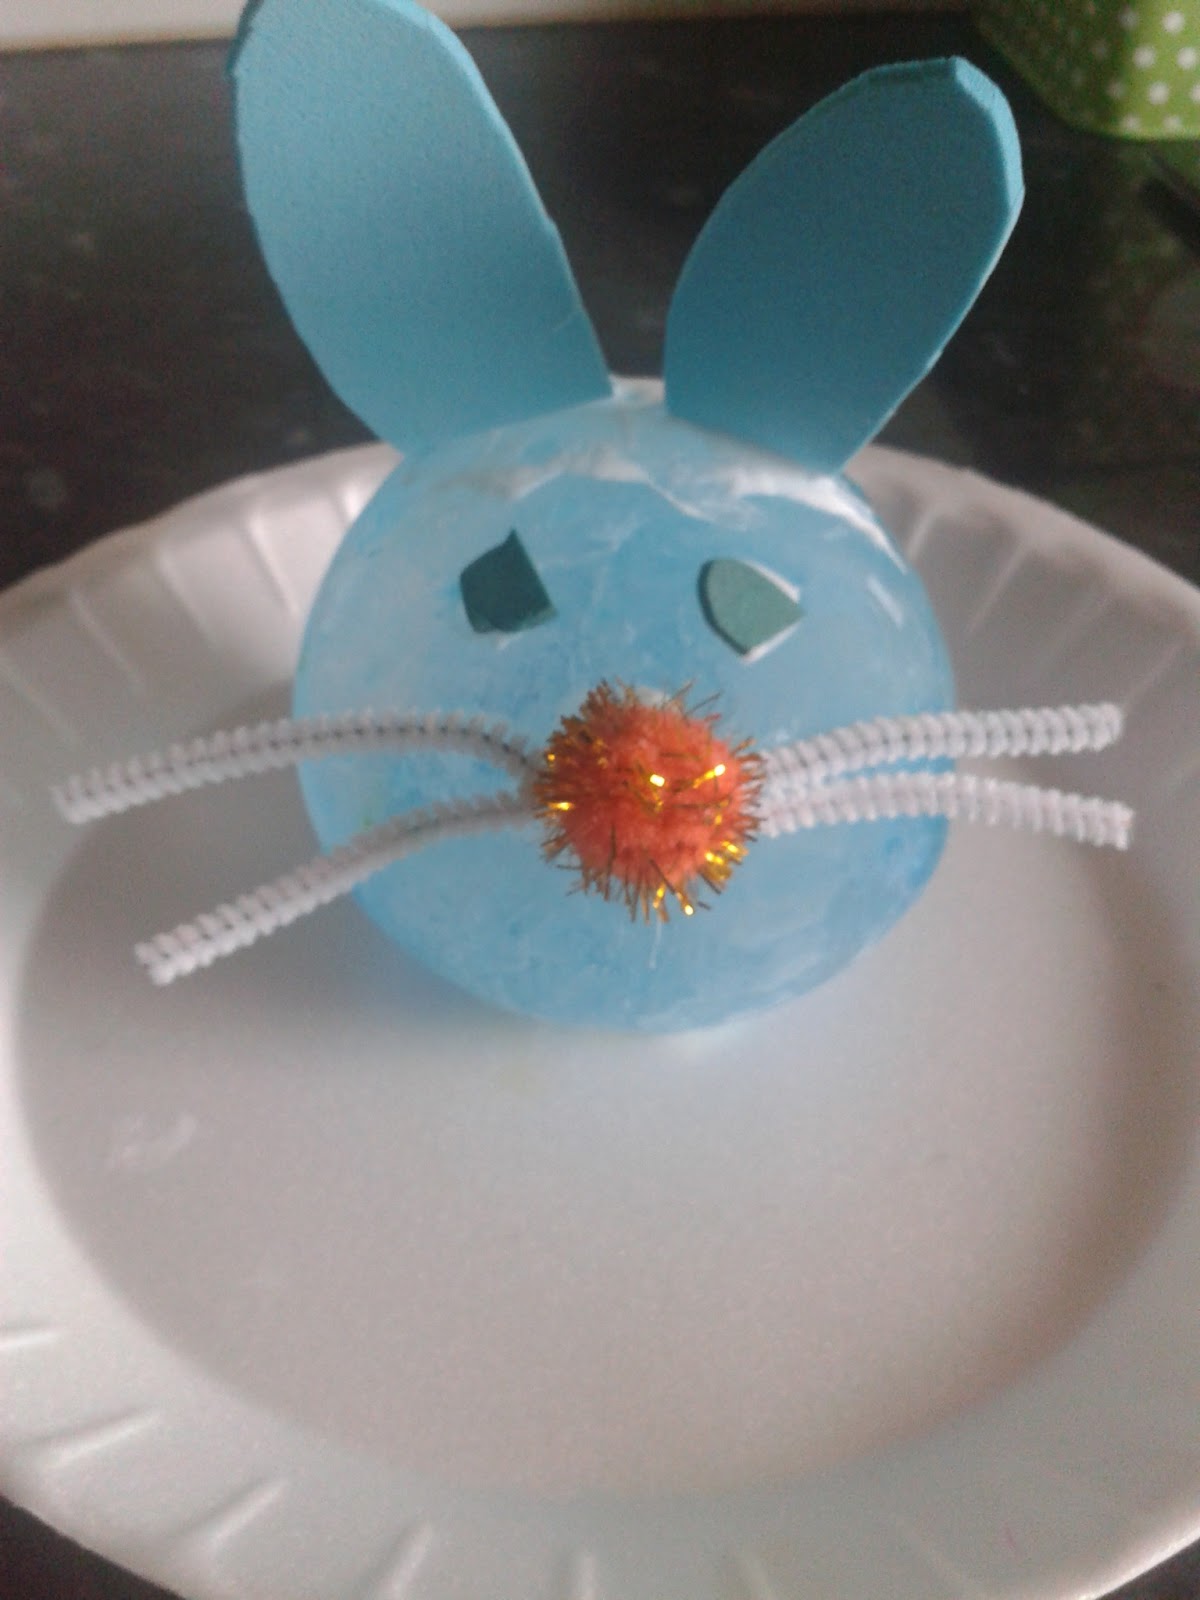
Easter ice eggs

 I didn't think I would be saying this but I am a tiny bit disappointed (just a teenie tiny bit) that the snow has cleared in my area.  Expecting a snowy Easter weekend I thought it would be fun to make some ice eggs for a outdoor egg hunt and to play some games with them too.


To make the eggs use a dropper or syringe to put a few drops of food colouring inside of a balloon and fill with water. Give them a little jiggle around so that the food colouring mixes with the water evenly and place them in the freezer over night.

Tip: I used a normal balloon because they are a little thicker than water balloons. Stretch the balloon over the end of the tap to fill with water. 


When the water in the balloon is completely frozen cut the knot off the balloon and peel the balloon  away from the ice egg.


If it is still snowy in your area you can hide the eggs around the garden or have a game of marbles or skittles. You could also make some snow chicks and bunnies instead of snowmen.

Although we wont be using ours for a egg hunt we did find another use for them. We made Easter ice sculptures instead :)


Thursday, 28 March 2013

Easter Nest

We had a stay and play session at school today where parents could go along and do activities with the children. One of the activities was to make this cute little Easter nest :)


Wednesday, 27 March 2013

Easter Bobble Chick


This was a lovely simple little activity but my little man loved it.  He thought it was hilarious watching the chick bounce around.


First of all we made a orange hand print on a piece of card for the chicks feet. Then I cut a slit in the center half the width of the card like shown above.


Next we blew up a yellow blown and slotted it into the slit in the card. Little man finished it off by gluing  on the beak, wings, eyes, and a few little feathers on top.


Finally place it on a flat surface and give it a little prod. The children will watch in delight as your chick wobbles around.


Tuesday, 26 March 2013

Hanging Easter Chicks


I had some party plates that have been sat in my cupboard for a few months so I decided to get them out in our arts and crafts session this afternoon. My children wanted to do something for Easter so we made some hanging chicks.


I cut the plates in half and they painted them yellow.


We then cut a triangle out of some foam to make a beak.


They used a pompom for an eye and stuck lots of feathers on its back.


I then folded a piece of ribbon in half, tied the two loose ends together and sellotaped it to the back of the plate.


Saturday, 9 March 2013

Flower Pots


My children made these sweet little flower pots for Mothers Day. They filled party cups with rice and then made flowers out of cardboard and twigs :)

Friday, 27 July 2012

Awesome Origami


I love these little inflatable rabbits. They are soo cute! Once folded you blow in the nose to inflate your little creation. My children were amazed!


Start with a square piece of paper. Although Origami paper will be easiest its not a necessity. I used standard white paper to create these.

1. Fold in half vertically and crease the line. Open and fold in half horizontally and crease the line. Open and you should end up with crease lines that look like this.


Step 1.


Saturday, 5 May 2012

Tissue Flowers


I love tissue flowers. They look fab and are great for so many different projects. All you need is a few different colours of tissue paper, fuzzy sticks, and a pair of scissors.